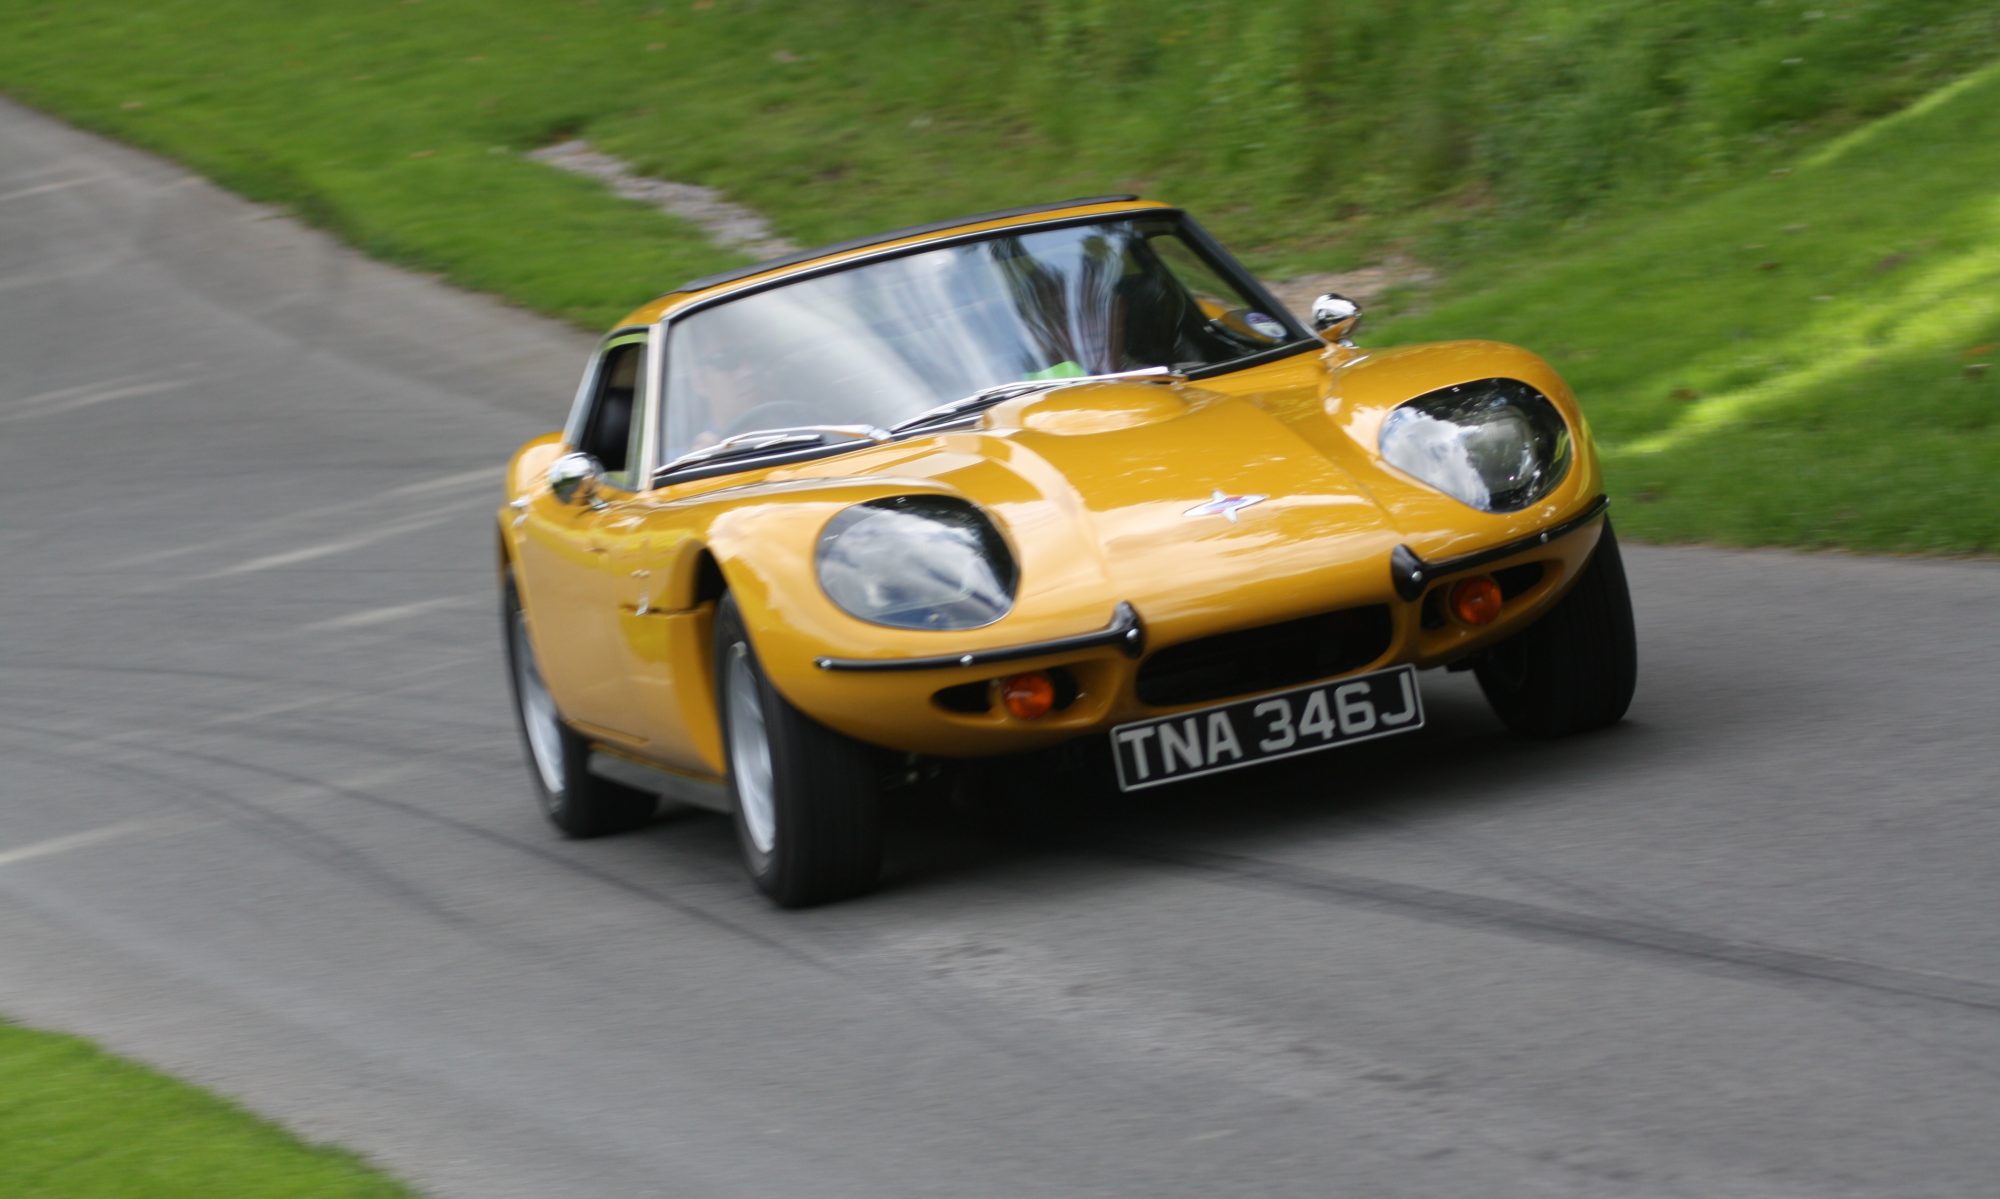
Several more days have been spent fixing holes and strengthening parts of the underside like the rear wheel arches. Once most of the work on the underside was completed the shell was carried outside and washed down to remove all the dust. The next thing planned for the shell was to place it back onto the chassis. Although I do plan to remove it from the chassis in the future to paint the underside I decided it would be best to put the shell back onto the chassis first so I can trial fit all the doors and make any adjustments required. The shell was a tight fit and I’m not sure if it was due to the repairs I made to the chassis or all the extra fibre glass I had added to the bottom of the car but eventually I managed to make it fit. The photo below shows the shell fitted back onto the chassis. I have also decided to use self taping screw with hex’s heads instead of the original philips type. Hopefully this will make it much easier to remove them in years to come as I really struggled to remove the original ones after they had been rusting away for almost 40 years.


Once the shell was screwed down the next task was to fit the doors. Marcos cars have a reputation for the doors not fitting too well so ? wanted to try and get them to fit as good as possible using the adjustment on the hinges and then use filler to try and get a more even gap around the whole door. No matter how much I tried I could not get the door to fit as good as I wanted it, as it was sitting proud. As there was no more adjustment possible on the door hinges the solution was to remove the hinges cut them and re-weld them. This would bring the hinge area of the door closer to the car. The photo below show s the modified hinge. At the same time it was noted that there was a lot of play in the hinges. Some of this play is being caused by worn bushes and the rest by the corroded hinge pins. Looks like another item to add to my list that needs fixing!

