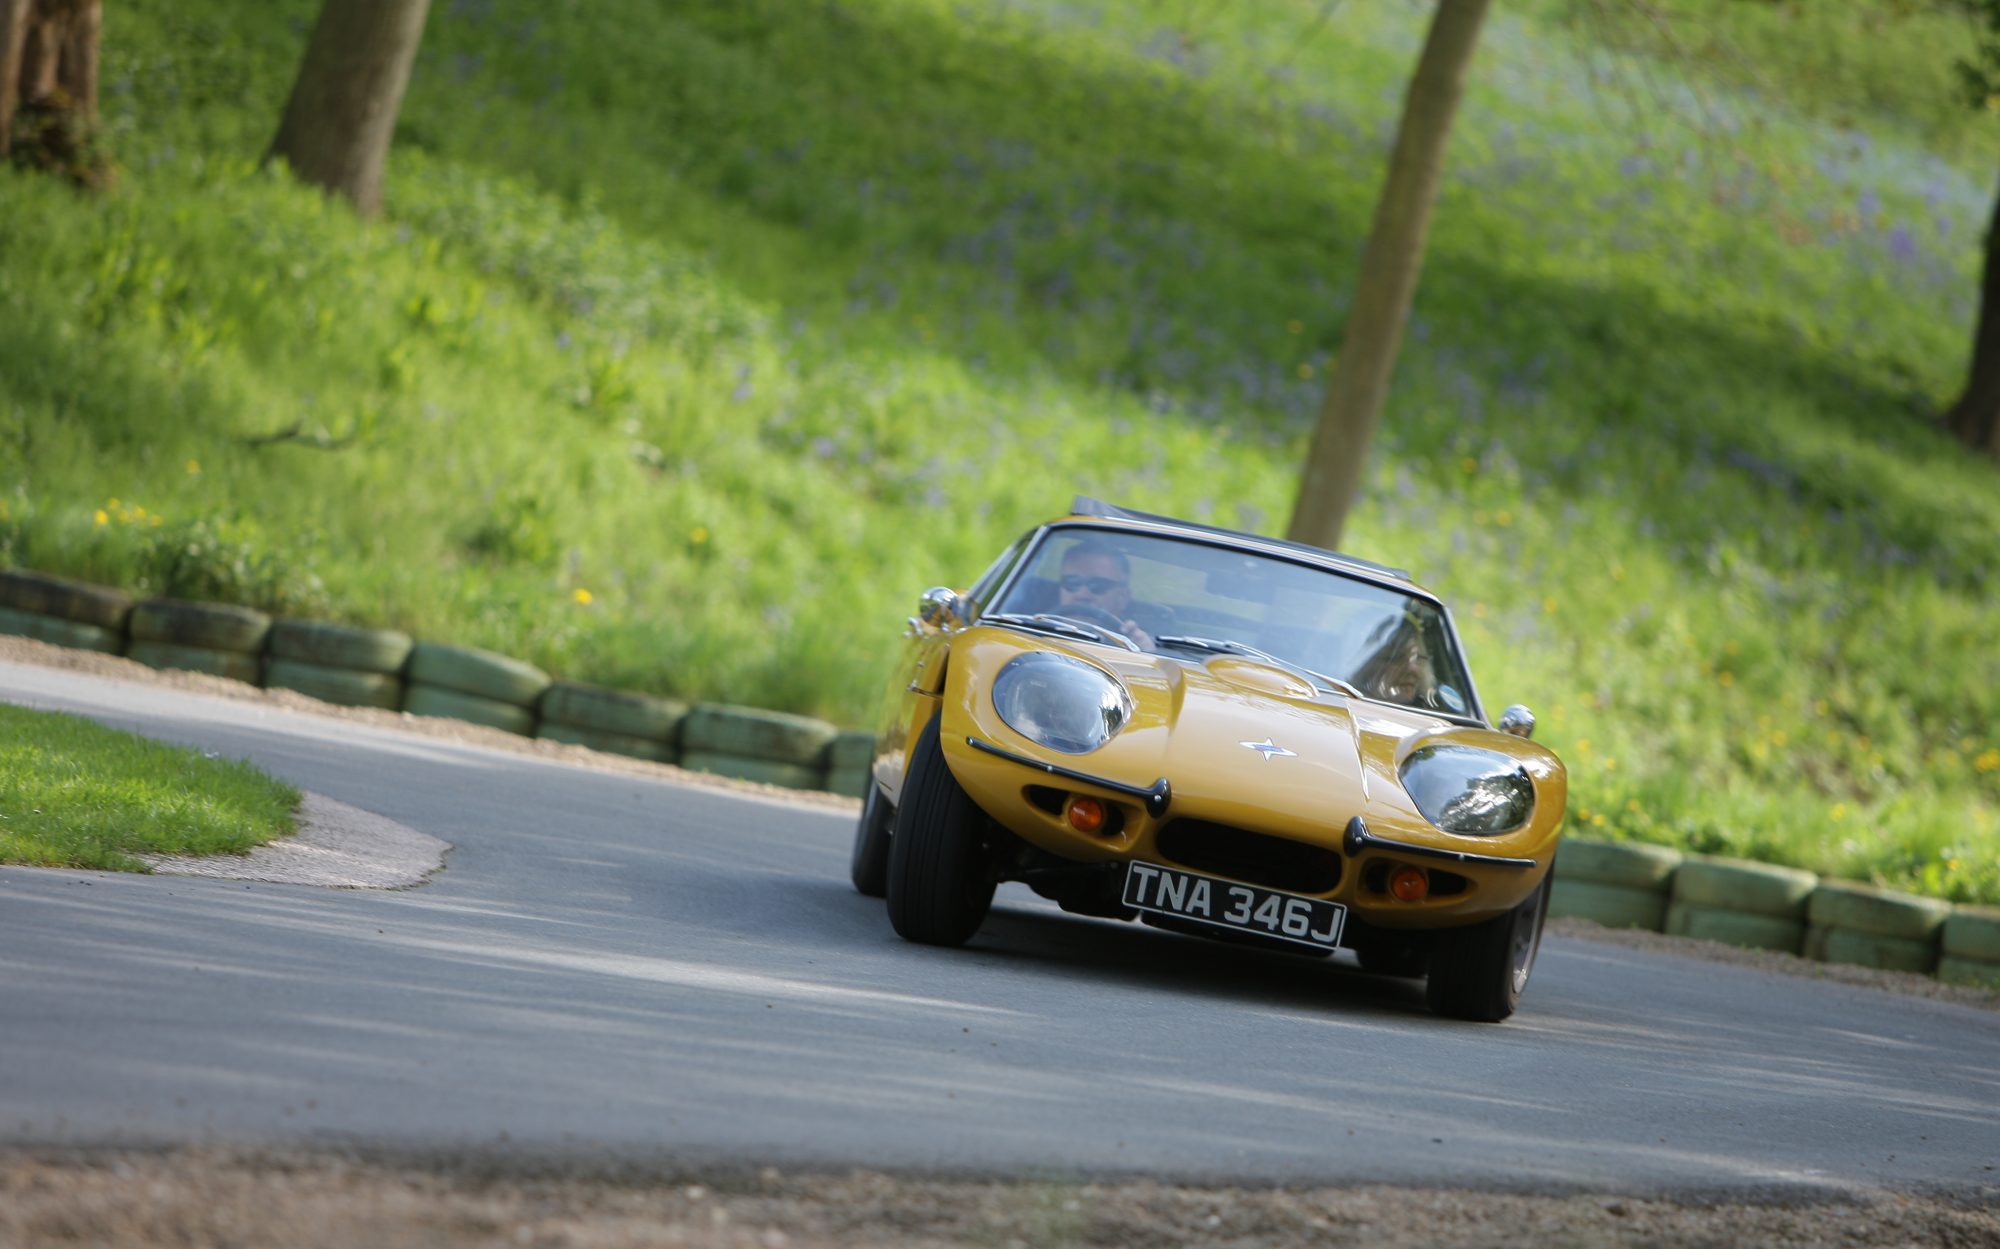
After traveling over 2000 miles in the Marcos since I completed the restoration I decided it was about time to fix the rear wheel bearings that have been rumbling away, even as loud as the engine and exhaust is I couldn’t keep ignoring it as I’m sure it was getting worse. Stripping down the rear axle and removing the half shafts was relatively easy but removing the old bearings from the shaft was quite a bit harder than expected. I really should have expected this as on the Ford English Axle ford rely’s on a friction fit to hold the bearing in place.
The bearing is kit actually consists of two part, one is the bearing and the other is a metal ring that is also pressed on the shaft to help keep the bearing in place (see photo below). The first step in removing the bearing was to place the bearing in the vice and squeeze the bearing across its diameter. As the bearing is made out of hardened steel (and it’s slightly worn) the outer race will shatter just leaving the inner part still on the shaft. Luckily the metal ring is made out of normal steel so it was possible to carefully cut about 80% through this ring with out damaging the shaft. once this was done i hammered a chisel into the cut causing the ring to open out making it slip off the shaft. Once this was done it just left the inner section of the bearing on the shaft. this was the difficult part to remove. First I tried brute force of punching it of when this failed I tried grinding through the bearing but gave up on this approach as I feared I would end up damaging the shaft so the final approach was using the oxy acetylene bottle to heat it up and then knock it off. This worked in the end but it took me and my father over 2 hours to remove the old bearings.
Once the old bearings had been removed the next challenge was to fit the new ones. As they had to be pressed down over the entire length of the shaft I ended up using a piece of scaffolding pole and a large sledge hammer. This worked well but yet again was a two man job.
With the wheel bearings replaced the next job was to remove the diff while the half shafts were removed so I could to check the differential as I believed their was slightly too much back lash. Once this was removed The backlash was measured at about 0.4mm (should only be about 0.13mm) The job of adjusting this is quite simple so now all I’m waiting for is a replacement gasket to arrive so the rear axle can be reassembled.

