No matter how many cracks I fix on the body shell I keep finding more! I think the end is in sight as I have now ground the Gel-coat away from numerous areas of the car and resined in fibre glass tissue paper to replace it. I hope to have this finish before the weekend so I can spend the weekend along with my father filling and rubbing down the car to get all the panels smooth again. The photo below shows more of my handy work fixing the cracks at the rear of the bonnet.

30-May-2008
What little time I have spent working on the car in May has been on repairing the rear wheel arches. When I bought the car I had no idea that the rear wheel arches had been altered, this was only discovered when I started to strip the paint off the car to get back to fibre glass. To make matters worse the driver’s side rear wing had also been involved in an accident. The only reason I can think the rear wheel arches where changed was so a previous owner could fit larger wheels at the rear.
The pictures below show the wheel arches before and after the repairs.


Once I had stripped all the paint and filler from the rear wheel arches it became obvious that if I wanted to fix it without spending a vast amount of money I would need a mould of another rear wheel arch. Luckily there was a Marcos owner nearby that was willing to let me make a mould. The method used was suggested by my father and although it does not create a perfect mould it was quick, easy and did not damage the paint work of the car I was copying.
I don’t have any photos of doing this but in summary you cover the area that you want to copy with masking tape to protect the paint. You then place a layer of cello tape on top of the masking tape to get nice non-stick surface (hopefully). You then buy a large pot of P40 fibre glass filler. You then carefully apply this filler on top of the cello tape to create your mould. After waiting 30-45minutes you can remove your mould. The only issue with making a mould like this is you have a lot of surface imperfections but if you’re more interested in the overall shape like me it makes no difference.
To use the mould you place cello tape on the inside of it to prevent the fibre glass you are going to lay up against it sticking. You then attach it to the car and then lay up your fibre glass matting and resin inside the mould and rear wing and wait for it to dry. Once the fibre glass has hardened the mould can be removed. This was not quite as easy as it should have been as the fibre glass resin managed to seep past the cello tape in places causing the mould to be stuck to the wing.
The rear wing was then sanded down and a small amount of filler applied to remove some small imperfections before a couple of layers of fibre glass tissue were placed over the repaired section. This was then sanded down. The panel is still note quite ready for painting as there are still some small imperfections but hopefully a thin layer of P38 filler and some sanding will have the rear wheel arch ready for painting.
24-Apr-2008
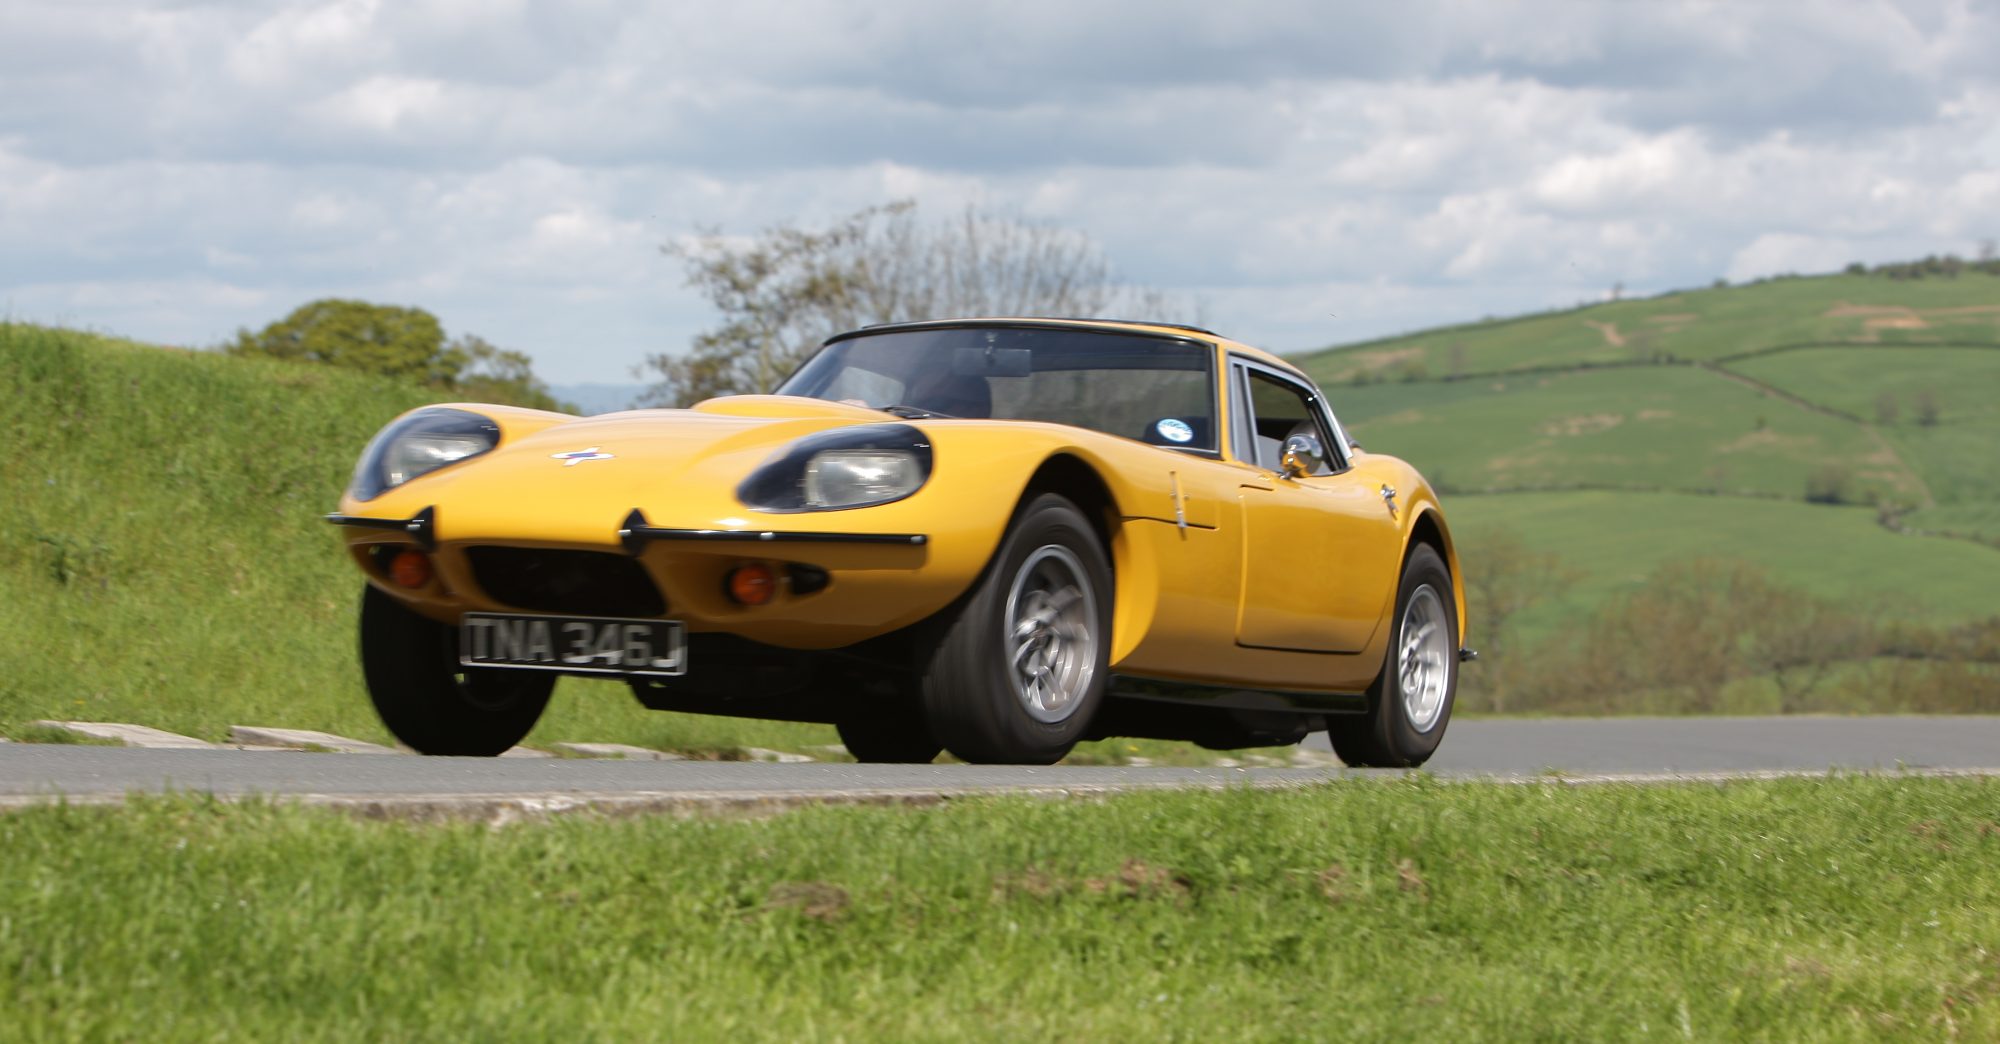
Several more days have been spent fixing holes and strengthening parts of the underside like the rear wheel arches. Once most of the work on the underside was completed the shell was carried outside and washed down to remove all the dust. The next thing planned for the shell was to place it back onto the chassis. Although I do plan to remove it from the chassis in the future to paint the underside I decided it would be best to put the shell back onto the chassis first so I can trial fit all the doors and make any adjustments required. The shell was a tight fit and I’m not sure if it was due to the repairs I made to the chassis or all the extra fibre glass I had added to the bottom of the car but eventually I managed to make it fit. The photo below shows the shell fitted back onto the chassis. I have also decided to use self taping screw with hex’s heads instead of the original philips type. Hopefully this will make it much easier to remove them in years to come as I really struggled to remove the original ones after they had been rusting away for almost 40 years.


Once the shell was screwed down the next task was to fit the doors. Marcos cars have a reputation for the doors not fitting too well so ? wanted to try and get them to fit as good as possible using the adjustment on the hinges and then use filler to try and get a more even gap around the whole door. No matter how much I tried I could not get the door to fit as good as I wanted it, as it was sitting proud. As there was no more adjustment possible on the door hinges the solution was to remove the hinges cut them and re-weld them. This would bring the hinge area of the door closer to the car. The photo below show s the modified hinge. At the same time it was noted that there was a lot of play in the hinges. Some of this play is being caused by worn bushes and the rest by the corroded hinge pins. Looks like another item to add to my list that needs fixing!

30-Mar-2008
The day was spent stripping underseal from the underside of the car followed by strengthening the driver s side rear wheel arch. This can be seen in the photo below. The plan for tomorrow is to turn the car over and do the same to the passenger side wheel arch. Once the body is turned over I will also be able to finish fixing a few other spots that need attention on the underside of the car. Hopefully with a few more days work I’ll be able to temporally fit the shell back onto the chassis. This will enable me to work on the rear wheel arches and trial fit the doors and bonnet. I’m still not sure what I’m going to do about the rear wheel arches yet but I think I’ve possible just had an offer that I can go and take a mould of someone else s Marcos. If this works out this will be the way to go as it will be far cheaper than buying a rear wing from Marcos Heritage Spares and more accurate than just guessing what the correct shape should be.

29-Mar-2008
After spending the last few days stripping paint I thought it would be a good idea to take the car outside and give it a wash down with the pressure washer. The main reason for this was to remove the mud from the underside of the car before I tried to start striping the underseal and repairing the floor. The first picture below shows the car after I had finished washing it. I then quickly removed the under seal from the damage areas and started repairing the underside of the car. To try and make the repair look a bit more professional I have used black pigment mixed in with the resin. My plan for tomorrow is to continue removing the underseal from the bottom of the car and to continue with the repairs.

